Ever since the AI coding assistant wave started rolling in, I’ve been trying to stay on top of all the new stuff – the latest changes, tools, and models. It kicked off with GitHub Copilot, costing like $10 a month, then I was manually copy-pasting prompts and code into ChatGPT, thinking this LLM was the smartest “human” on earth. After that whole revolution, things have been moving super fast with new (and arguably better) coding models from Anthropic (Claude 3.5, Claude Sonnet 4.0) and Google (Gemini 2.5 Pro), plus new IDEs like Cursor and Windsurf.
My first go with Cursor wasn’t exactly love at first sight. I stuck with my usual routine: VSCode and hitting up the web UIs for OpenAI, Google, and Anthropic. But then Cursor dropped “Agents,” and honestly, it felt like magic. The first time you saw it editing files, creating new ones, and just nailing single-shot function generations in no time, it felt like a massive leap forward.
But, you know how it goes – the honeymoon phase fades, and you start seeing the cracks. It’s not quite the fully hands-off utopia where we can just chill and not worry about the code. The main things holding Cursor back, in my opinion, are:
- Tool-Calling Models: Anthropic currently has the best models for tool-calling, which is super important for making agents actually do things.
- Cost & Context: Since Cursor doesn’t make its own top-tier models, it has to think about the cost. For LLMs, that means tokens. And memory for LLMs is basically their context window. So, Cursor has to limit how much context it gives the models, making them a bit “dumber” than if you were just calling the Claude API directly, for example.
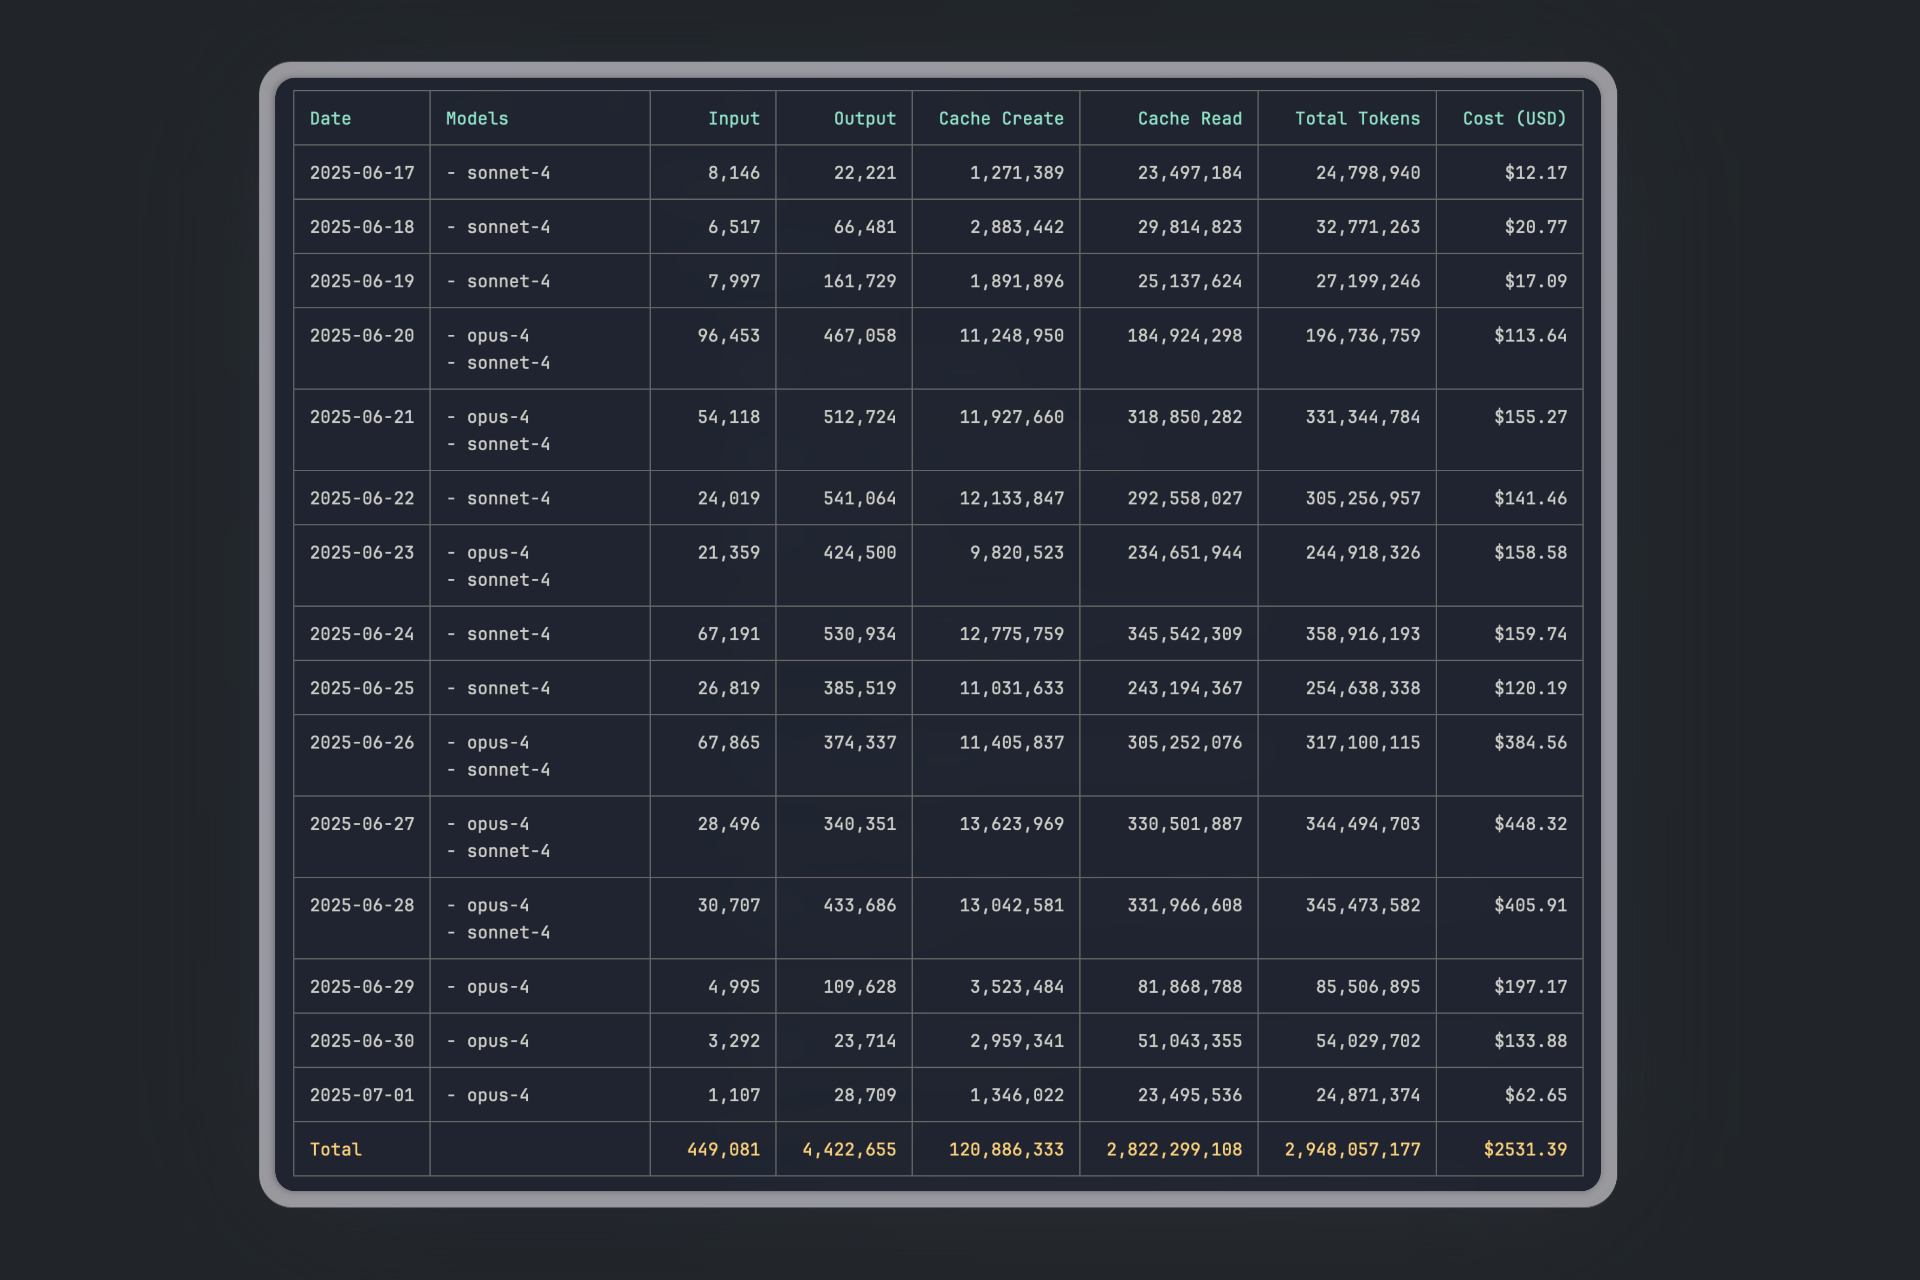
Besides Cursor, a bunch of CLI tools have popped up, letting you run AI agents right in your terminal or even on servers. Think OpenCode and Claude Code. Since the Max Plan dropped last April, the hype around Claude Code has been insane, which is why I shelled out for the $200 plan last week to see what all the fuss is about.
How I Use Claude Code
To give Claude more context and info, I’ve connected these “Model Context Protocol” tools (MCPs):
- Context7 is a lifesaver. It lets Claude look up the latest docs for pretty much any library, framework, or language out there. LLMs have knowledge cut-off dates, and things change so fast in dev, so having Claude know about the latest versions and how they work is a must-have.
- Serena is an MCP with a ton of useful tools. The biggest one for me is its Language Server Protocol (LSP) integration. This means Claude can jump through diagnostics without needing clunky
grepcommands, which is way less efficient. I’m pretty sure Claude Code will get native LSP support soon, but for now, Serena is the way to go. The new OpenCode from the SST team does have LSP built-in, though. - Zen (it used to be the Gemini MCP) is an MCP that lets you talk to other LLMs. The tools it gives you are
planner,codereview,thinkdeep,debug,refactor, and many more. It has been a game-changer for me, and it’s a huge part of my current workflow. You’ll see why a bit later.
My Claude Workflow: Getting Started & Staying Organized
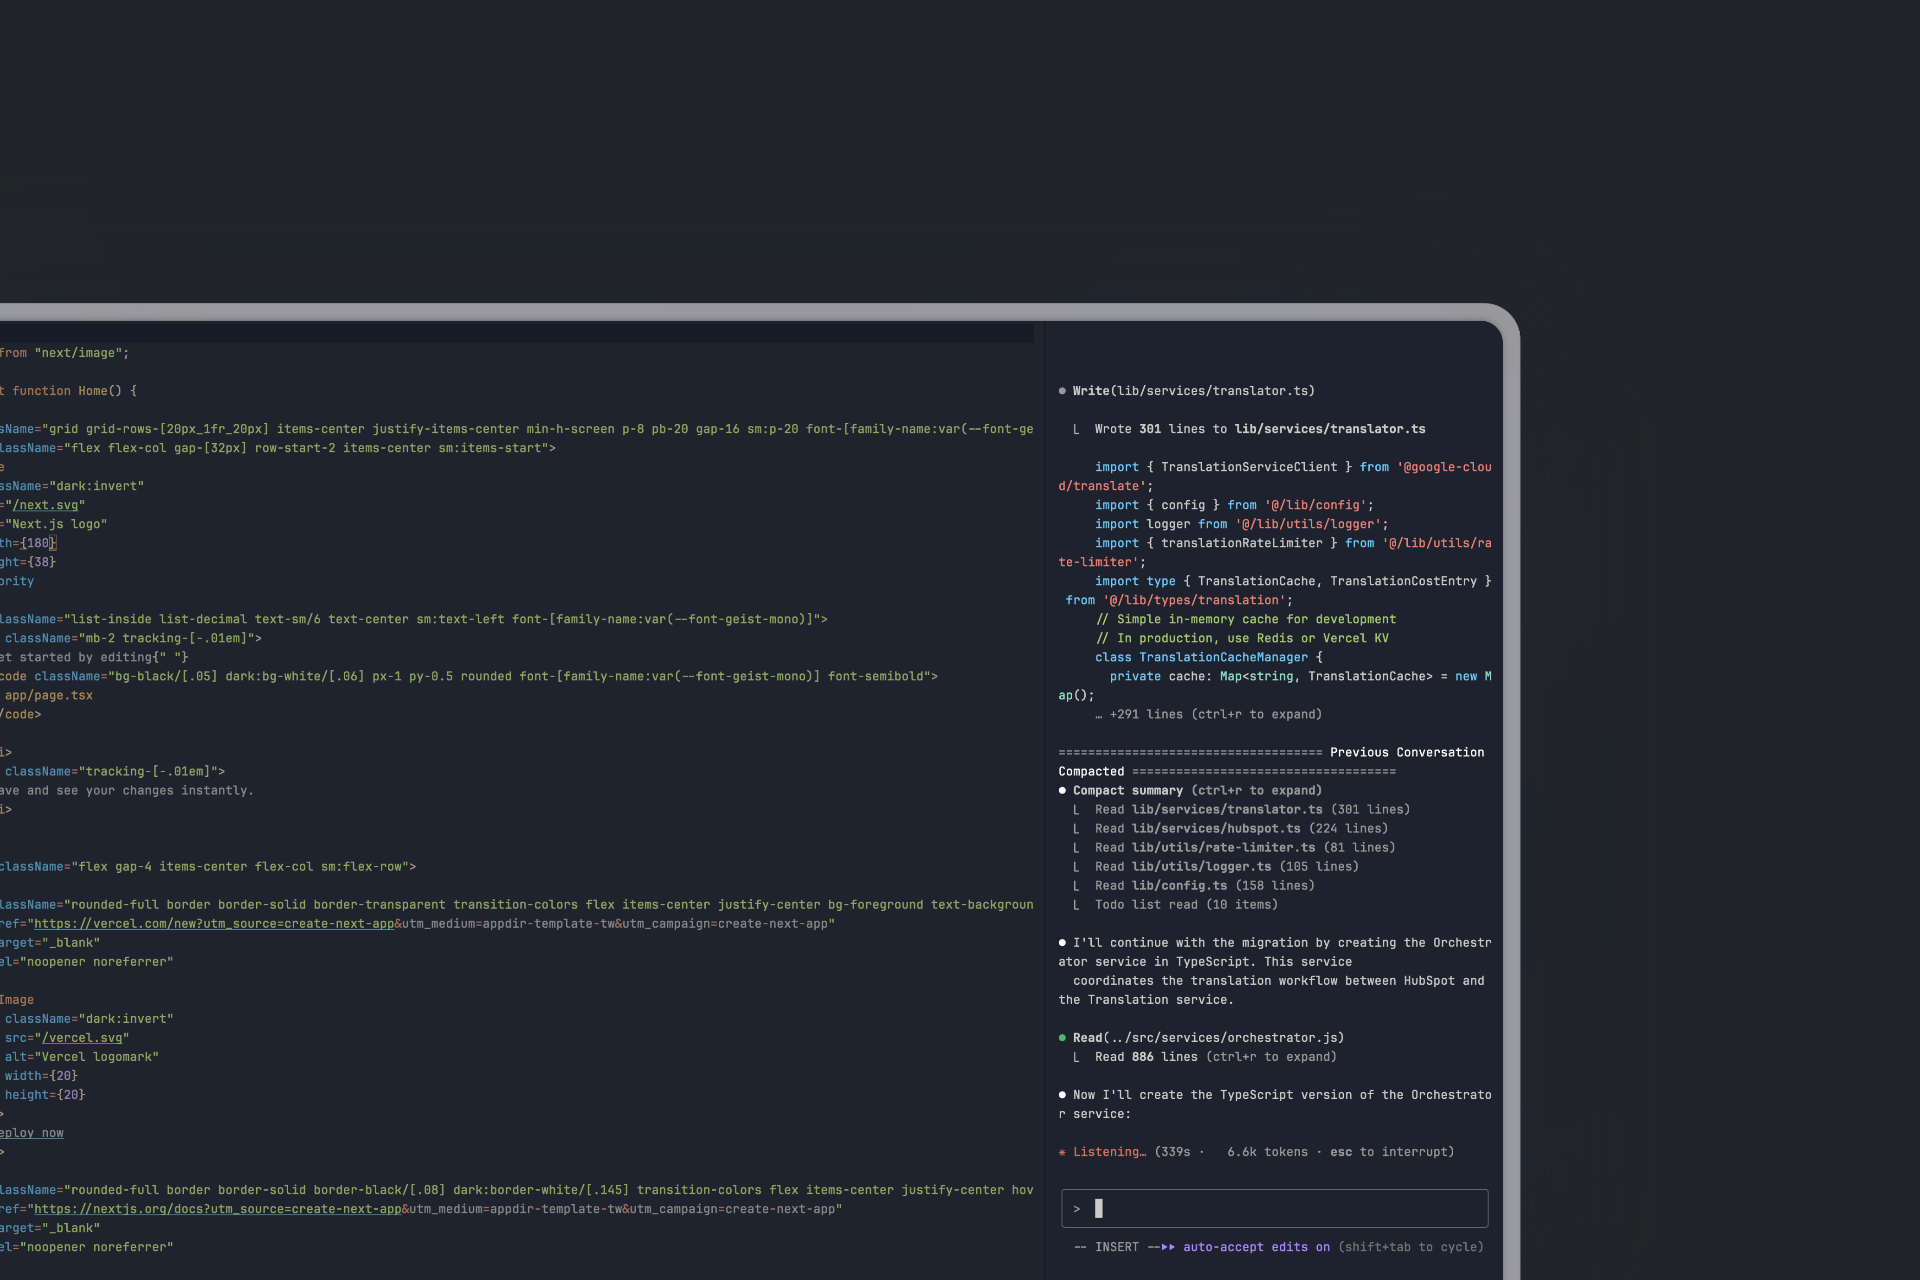
First things first, you’ll want to run /init. This command makes Claude Code go through your entire codebase, sort of like an indexing process. It then writes up a pretty comprehensive overview of the structure and the codebase in general, saving it as CLAUDE.md right in your root directory. This file is always kept within Claude’s context, and any project-specific memory rules you set up using the # shortcut will also be stored here.
For Your Day-to-Day Projects: Planning is Key
A key feature you absolutely need to know about is Claude’s Plan Mode. You activate this by hitting Shift+Tab twice. Plan Mode’s main job is to stop Claude Code from creating or editing files, keeping it focused purely on strategizing.
Here’s how to get the best out of it: Ask Claude to map out a plan for tackling a specific problem. We’ve found that using the word “think” triggers an extended thinking mode, giving Claude extra computation time to really chew on different options. The system maps these phrases to increasing levels of thinking budget: “think” < “think hard” < “think harder” < “ultrathink.” Each step allocates more processing power for Claude to analyze alternatives thoroughly.
After the plan is laid out, you get to decide whether to keep refining the plan or let Claude switch into “edit mode” to start executing it. Just remember, “think” is also a useful trigger word in “insert mode”; it prompts Claude to pause and think through its actions before making any file edits.
Tackling Larger Codebases: Keeping Claude on Track
When you’re dealing with bigger codebases, you’re talking more lines of code (LoC), more tokens, and often, a series of tasks that can easily blow past the context limit. This is where you risk losing track of the project’s overall “code” and direction.
To make sure Claude always stays on track and we have reliable fallbacks for progress, goals, and context, I stick to the following workflow which is mainly inspired by “Simone”.
- I set up a dedicated root folder at the project’s root, something like
./planneror./whatevername. - Inside that, I structure things logically:
01_PROJECT_DOCS02_REQUIREMENTS- This is where we’ll log milestones.03_SPRINTS- We then create sprints based on those milestones.99_TEMPLATES- Here we will keep templates which Claude should follow when creating milestone, sprint and project manifest files.00_PROJECT_MANIFEST- This acts as the central reference point for the entire project.
The template for this PROJECT_MANIFEST file can be viewed at project_manifest_template.md.
- Milestone Creation: Based on the project docs and your input, Claude generates a milestone document (using
milestone_meta_template.md). We let it follow the following naming convention:M01_Backend_SetupM02_UI_LIBRARY. - Sprint Planning: From the milestone, Claude creates a set of sprints, following the process in
create_sprints_from_milestone.md. Each sprint gets its own document, based onsprint_meta_template.md, outlining the goal and the “done” criteria. This is where I frequently bring in the Zen MCP to have Gemini Pro review the plan. This is where LLMs really shine, discussing concepts and improvements together. We also spin up sub-agents that work in parallel, merging their outputs into a final conclusion. - Task Generation & Review: Claude then creates tasks based on the sprint document (using
task_template.md). Crucially, it reviews its own task list to ensure alignment with the current scope. - Execution: The “Do Task” Phase
This is where the magic really happens, with Claude acting like an engineer on the ground. It follows a strict, top-to-bottom process, which you can see in detail in do_task.md. Here’s a high-level overview:
- Task Analysis & Setup: Claude identifies the task, validates it fits the current sprint scope, and sets the status to “in progress.”
- Execution: It works through subtasks iteratively, consulting project docs and logging progress as it goes.
- Code Review: The completed work gets reviewed by Gemini Pro 2.5 via the Zen MCP. If it fails, Claude fixes the issues and tries again.
- Finalization: Once everything passes review, the task is marked complete and Claude provides a comprehensive report.
This whole process ensures that all necessary context is loaded, and having Gemini Pro as a reviewer catches a surprising number of issues that Claude might otherwise miss. It’s a powerful way to build quality right into the workflow!